
In this tutorial video, I show you how you can use Cineware, in order to link and animate 3D video simultaneously between Cinema4D and After Effects. I will also show you how I use Maxon One Red Giant Universe and Magic Bullet Looks as part of my 3D workflow.
Editing BRAW in Final Cut Pro Using BRAW Toolbox
In this tutorial video, I show you how you can now edit Blackmagic BRAW in Final Cut Pro, using an extension called 'BRAW Toolbox'.
Top 10 Sony A7IV Menu Setup Tips: to Speed Up Your Video Shooting Workflow (PART 1)
The following Top 10 Sony A7IV Menu Setup Tips will be covered in this Sony tutorial video:
Setting up a key to 'Gamma Disp. Assist Type' as a Key
Simplifying the display
Customizing your Favorite Menu
Customizing the recording button to change between Focuses
Set white balance as a Key
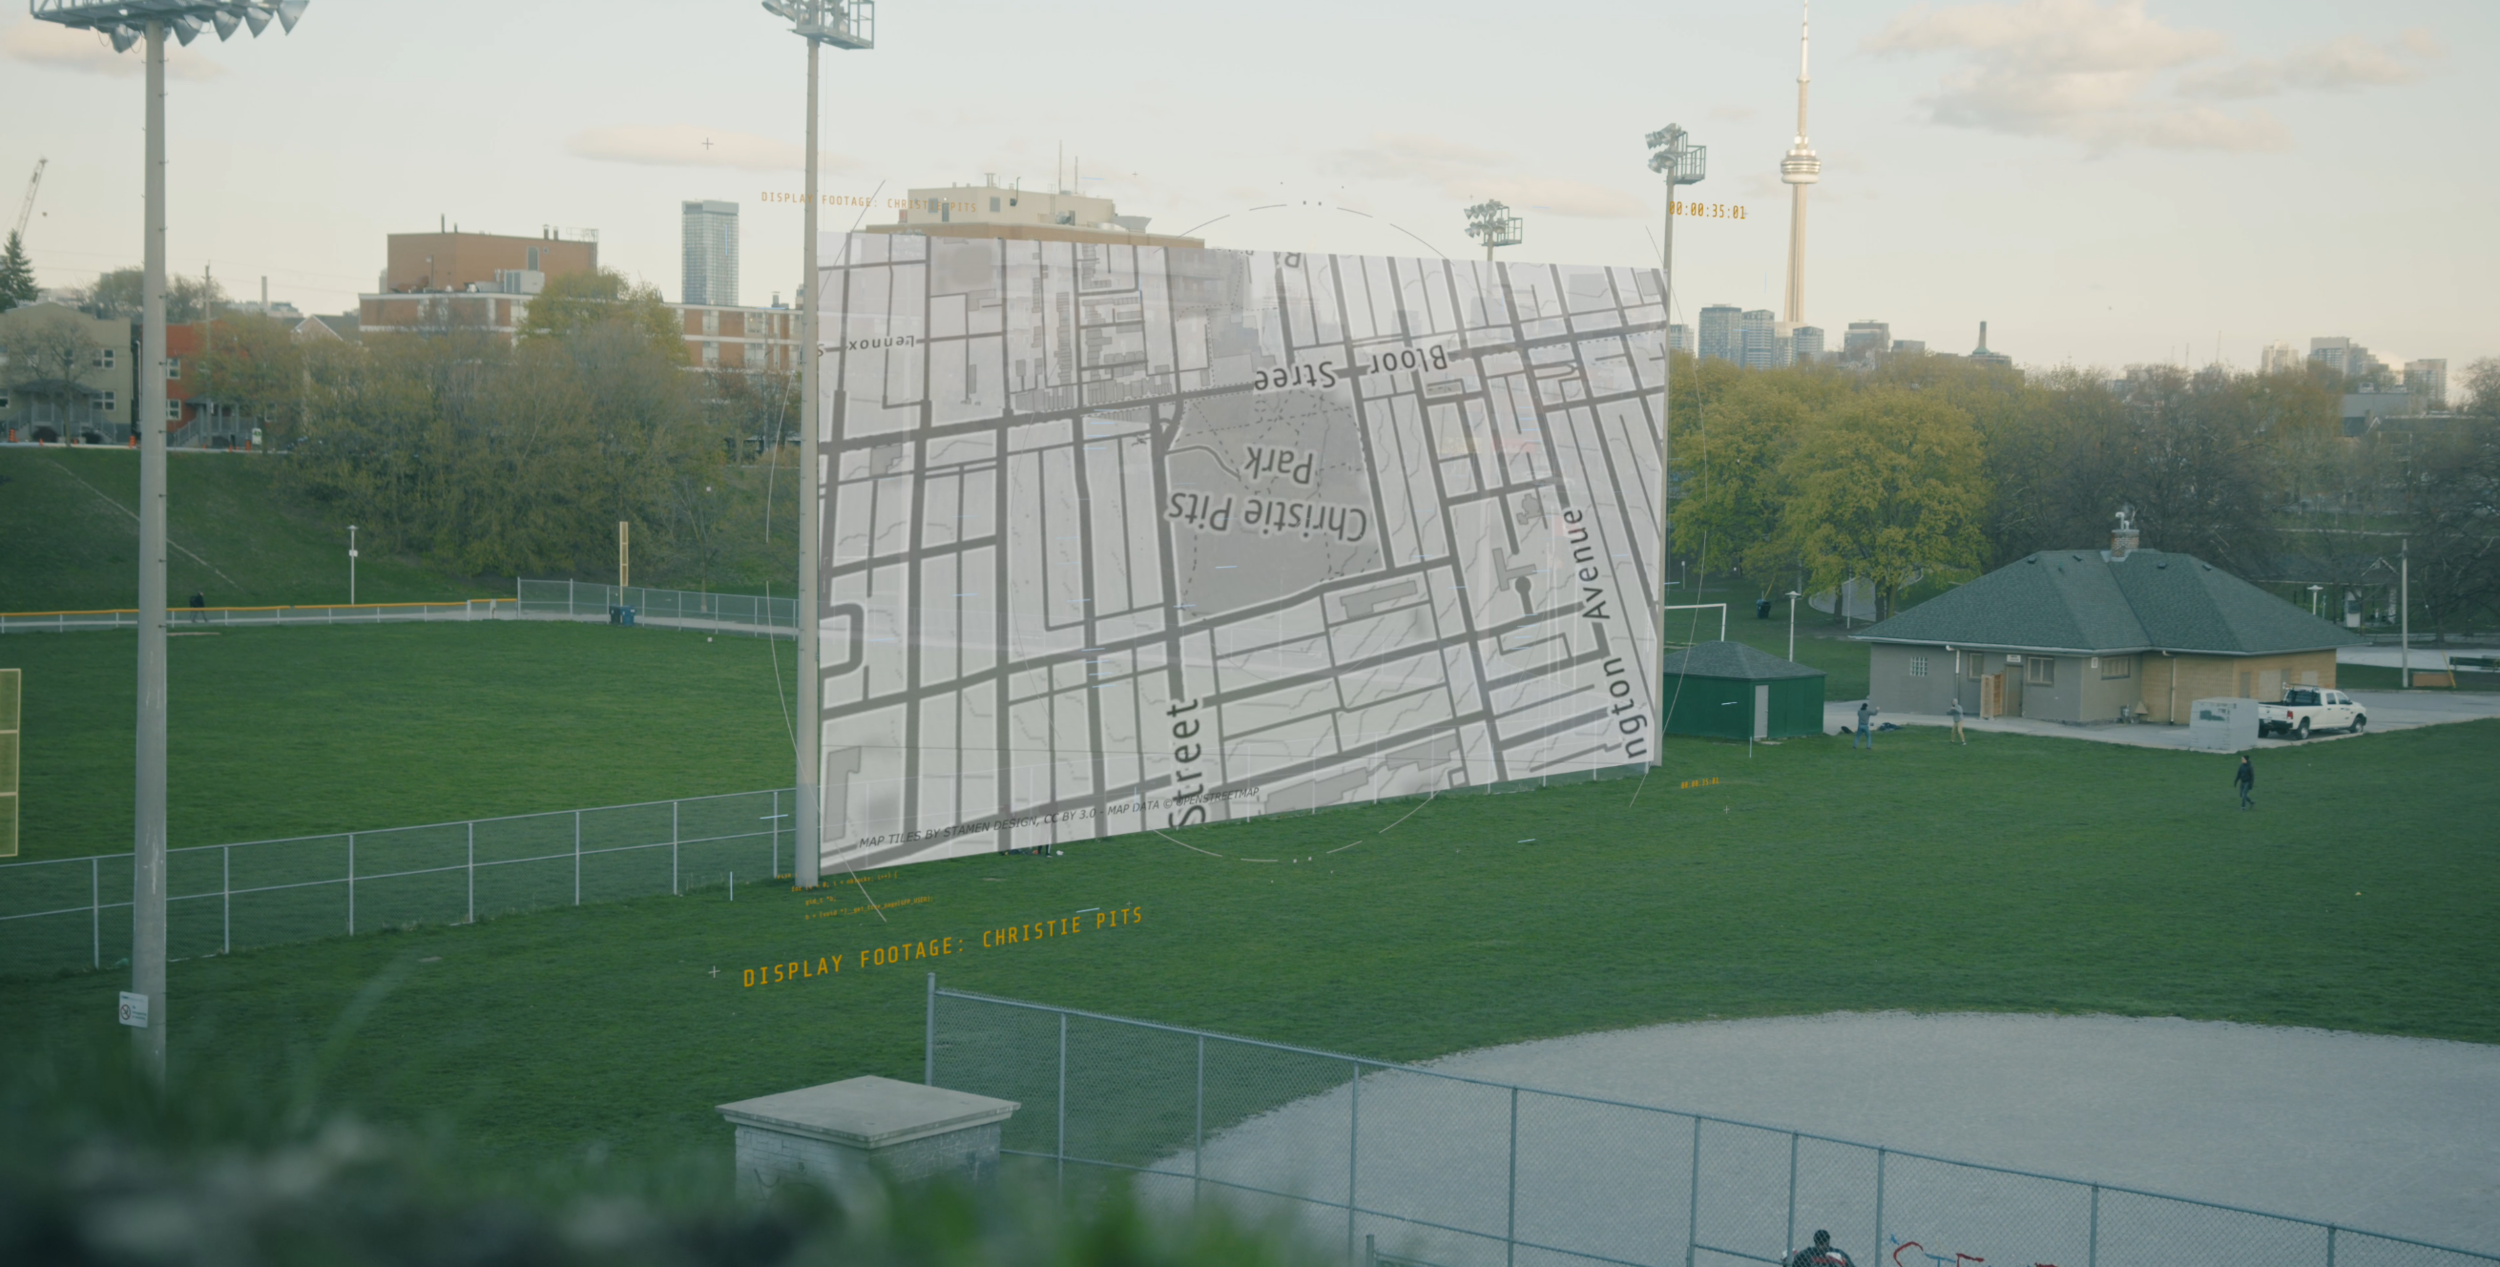
How to Create a True Detective Inspired Animated Map Using GEOLayer 3 in After Effects
In this video, I share a tutorial on how to create a stylized animated map using GEOLayer 3 in After Effects. The tutorial pulls from inspiration from NY Times and WSJ maps. The animated maps are of the invasion of Ukraine from Russia.
Best Sony A7 IV Video Settings & DaVinci Resolve Colour Workflow
In this video, I show how you can get the best video settings using the Sony A7 IV. I show you how using 10 Bit 422, S-Log 3 and the SanDisk Extreme PRO memory card, you can get the best 4K image using the Sony camera. I also explain my DaVinci Resolve colour grading workflow, including using Maxon's using Red Giant software Magic Bullet Looks and Mojo. I also explain how using the Sony A7 IV Phantom LUTs from Joel Famularo, you can speed up your colour grading workflow.
Vlog: East End Work - Cinematic B-Roll of Toronto East End (Queen East & Broadview)
The following vlog was taken from the east end of Toronto, where I captured some cinematic b-roll shots of Queen East, Broadview, Danforth and along the Don Valley.
Paris Map Fly-in Using GEOLayers 3 in After Effects
In this animated map video, the video zooms into Paris, France, using GEOLayers 3 in After Effects:
Editing Photos Using Stu Maschwitz's Prolost Lightroom Profiles
In this video, I show you how you can use Stu Maschwitz's Prolost Lightroom Profiles to enhance your photos and get that Hollywood and teal and orange look.
Animated Bike Map Using GEOLayers, MotionVFX, Strava and Holomatrix
In this animated bike map video, I use GEOLayers 3, MotionVFX and Holomatrix sourced from Strava data.
How to Create a Running Map in GEOLayers 3 with Strava Data
In this video, my friend and I run a 10K 🏃🏃♀️. I use GEOLayers 3 to show you how you can animate a running map using Strava! Enjoy
How to Replace Screens Using Red Giant's VFX King Pin Tracker in After Effects
In this video, I show you how to do screen replacement and motion tracking in After Effects using Red Giant’s King Pin Tracker:
2 Maps in GEOLayers 3 in After Effects
Maps set context and can be a rich source of data for your videos. I created this video: '2 Maps in GEOLayers 3 in After Effects', to show how I created two types of maps in GEOLayers 3.
Map Example:
Reminiscing about southern Alberta, with this quick graphic flyover.
Toronto Fly In Map
This video was made for Instagram Stories, of a fly in of Toronto using a digital animation map.
Southern Alberta Flyover Graphic Using GEOLayers 3
Reminiscing about southern Alberta, with this quick graphic flyover:
Futuristic Graphic Test Along Lakeshore Using GEOLayers 3 & Motion VFX
In this video, I use GEOLayers 3 and Motion VFX (HUD 3 and mCallout) graphics to design a futuristic look.
Walk Down Bloor West Using MotionVFX mHUD 3, mCallouts Specs and GEOLayers 3
In this video, I showcase my walk down Bloor West using motion graphics (MotionVFX mHUD 3, mCallouts Specs and GEOLayers 3):

These three programs/ plugins are a powerful way to seamlessly tie in graphics into your promotional videos, so as to enhance your message and sell your product or service.
How to Use the MotionVFX Callout Spec in Final Cut Pro
Graphics are a key element to any promotional video. They enhance your message and call out important features about your product or service.
In this video, I describe how to use the MotionVFX Callout Spec in Final Cut Pro:
Making My Way Through the Demystify Color Course
I'm currently making my way through the Demystify Color course by a nice fellow from Austria, who's a professional Colorist. The aim is to become a better color-grader myself, particularly to understand the foundations of color-science and developing that 'film look' in Davinci Resolve. Check out the course's promotional video here and enjoy the proper post-production aesthetic your video deserves:
Animated Maps in GEOLayers 3
I’m currently learning new skills in GEOLayers 3. Check out my most recent video, featuring three types of maps in three locations: Toronto, New York and Banff:
GEOLayers 3 is a powerful program in After Effects, that allows you to create animated maps. There are many possibilities of how businesses can use animated maps to set the context and inform their consumer regarding data-driven content. For this example, I explain how to create three animated maps in GEOLayers 3:
My Current Editing Post-Production Workflow for Instagram Stories
In this blog post, I will share my steps to my post-production workflow using Sony DSLR footage in Final Cut Pro X; post-production is what occurs after the shooting of the video - the editing component.
I shot a video at High Park here in Toronto. I’ll be using this video as an example to explain my post-production workflow:

A Couple Pointers of How I shoot My B-Roll With My DSLR:
For this video, I shot the footage vertically, as opposed to horizontally, using my Sony A7II. This allows for the best quality in terms of shooting for Instagram Stories.
The critical point is to shoot/ use the gear for the format of the video you plan to deliver. So, in this case, because I was shooting for an Instagram Story, to get the best resolution, I shot with the camera vertically.

In terms of frame rate, I shot in two formats using my DSLR/ I used both 60 frames so that I could slow the footage in post, and 24 frames per second, recording in 4K.
I could have shot in a log profile (S-Log 2) to get the best most desired results in terms of dynamic range. However, because for my workflow, I’m working on simplicity and minimalism, I choose to bring just one camera, with one lens (my nifty fixity 1.8) and shot in the built-in standard settings for this shoot.
My Post-production Workflow:
For my videos, I often start by giving a quick overall cut of my footage. I will use the Command ‘A’ to ‘select’ the clip in Final Cut and ‘B’ for the ‘blade tool’ to quickly edit the best shots. For me, this initial cut is focused on my ‘creative eye,’ as well as focusing on the story I want to tell. I try not to overthink this initial step and consider it more art than science.
After I have made this initial cut, I may then bring in music. I’ll pick a track on Epidemic Sound and will cut to the beat and rhythm of the song. This next part will focus on the story in terms of the sequence of clips and the overarching themes I uncover as I edit. Using my chosen song, I will often edit to a build-up or climax of the song. In short, I will structure the edit using the song, timing the cuts to the rhythm, beat and build-up/ climax of the song.
I have been focusing more on the pacing of my videos, so this is where I’ll spend the majority of my edit.
After I have made these two categories of edits, I mostly have the skeleton of my video, edited to the beat and rhythm of the song. I’ll then turn to colour grading my footage.

As mentioned, I often will shoot in a ‘flat profile,’ such as S-log 2, using the Sony Profiles. But for this example and video used at High Park, I decided to shoot the video in its original capture setting. This allowed for less colour correction.
I will then do an overall edit of the video, correcting the footage using Magic Bullets Colorista IV. I will focus on lowering the shadows and upping the mid-tones and sometimes the highlights, often utilizing an s-curve, allowing for a more excellent dynamic range. I may also touch up the colour temperature, exposure and highlights.


Once I have the bade colour correction, I will add a LUT using Magic Bullet Looks 4. A favour LUT I will apply is the Blockbuster Warm.
The LUT will often be too intense, so I will lower it considerably, often reducing it to between 10%-30%.
After this LUT treatment, I turn to Magic Bullet Mojo II. Mojo gives that Hollywood look, offering a beautiful teal look in the shadows and upping orange in the highlights. Mojo can be a bit strong as well, so I will switch it to the video section because I didn’t shoot the video in a flat format. I will also use the light preset as I find it offers a lighter treatment of Mojo to my footage. After this, I will go ahead and lessen the amount, hovering between 10-30% as well.

My final step is to apply a grain effect, using Magic Bullet Renoiser. There is a nice feature in this effect, to select either Image Vitamins or Compression Proofing.
I will then go into the edit a make minor adjustments to each clip, cutting up the adjustment layer.
Then, after I have made a base colour edit, and have the basic story down in the video, edited to the beat, I will focus on sound design.
My Sound Design Workflow.
I will go through each clip, adding sound to each clip.

For my High Park video, I added nature sounds - particularly bird sounds to all clips.
I then added a backpack sound, a bike sounds with a bell, a runner sound and a whoosh sound when transitioning from a tree, as examples of added sounds added to the footage.
A crucial step you can do is extend the sound before and after the clip, allowing you to transition to each clip.
A Final Couple pointers
A key feature I’m trying to incorporate is to tie my clips better together using logical sequencing.

So, for example, I may share a similar object or theme between clips. For instance, in the High Park video, I used similar scrubs to transition clips. In another shot, I added several shots of a bird, to tell a story; I also used the brightness of the sun, to both begin and end the sequence of the story.
I hope this video was helpful to give you some tips on your video editing workflow.
I’d encourage you to get creative if you enjoy photography and video.
Thank you for watching my video. Don’t forget to like this video and subscribe.
What Is the Ideal Length for Your Social Media Video?
Think ‘Shorter Is Sweeter’ and ‘Content is King’ in Terms of Your Social Media Posts for Your Brand*
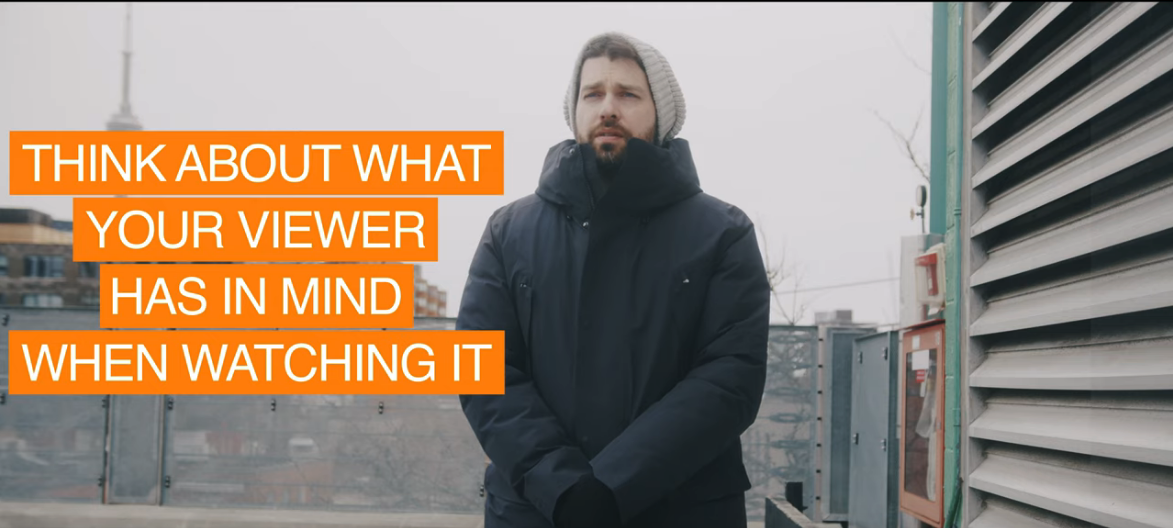
Do you struggle to consider how long to have your social media posts or ads? According to Matthew Barrett, Senior Videographer at Prodigy, a Toronto-based Educational Tech company, ‘shorter is sweeter’. He considers 15-30 seconds as the ideal length for a social media ad, but this depends on the social media platform your brand is using.

If your video is not a social media ad, and you are doing more an educational or instructional video, then the content can be longer. Social media platforms such as YouTube are better served with this longer form content; Instagram content is often shorter.
Production value of your video matters, according to Matt, but ultimately ’content is king’. You can shoot on an iPhone if it means the content is there. But if you don’t have the quality content your audience seeks, then it won’t really matter if you shot the video on a $40K RED camera.
So for your next social media post, think ‘shorter is sweeter’, but also consider the quality of the content your audience is seeking.