Photography and Videography Fusion: Capturing & Editing with a Sony A7IV
My Complete Workflow with Sony A7IV: Join Blake Anderson as he walks you through his detailed photography workflow for event and promotional video coverage. Discover how he seamlessly switches between capturing high-quality stills and video using his Sony A7IV. Learn step-by-step how Blake processes his photos using RAW format, Topaz AI, and Lightroom Classic, and how he ultimately produces immersive slideshows in Final Cut Pro. Perfect for photographers and videographers looking to enhance their projects with stunning visuals!
Typically, I toggle between photography and videography to encapsulate both dynamic events and moments. My trusted companion in this venture is my Sony A7IV camera, an excellent hybrid camera offering robust features for both photography and videography.
Optimizing Camera Settings
The journey starts with understanding the power of the Sony A7IV. This camera captures astounding high-quality stills with its 33-megapixel capability and excels in shooting raw formats, enabling high dynamic range and uncompressed image quality. I consistently use a 3:2 aspect ratio for the highest format quality and keep the ISO below 6400 to ensure sharp focus. With continuous autofocus, supported by the spot focus and eye autofocus features, I promise clarity and precision in all captures.
Capturing Moments in RAW
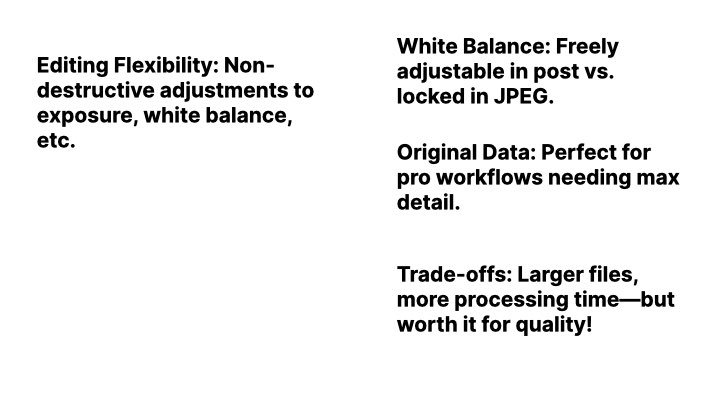
Capturing moments in raw format is pivotal. It offers an uncompressed image and a higher dynamic range, vital for post-processing. While the files are larger, my 128GB memory card manages the load comfortably. Shooting in raw ensures flexibility during the editing process, allowing more freedom with colour, shadow, and highlight adjustments.
Editing Workflow: From Import to Export
Once I'm back from an event, my workflow kicks into high gear. I import images into Lightroom Classic on my MacBook’s expansive storage. My first task is to curate the best images, often narrowing down from hundreds to the most striking 80-90 shots, pending client preference.
To accelerate my process, I utilize Lightroom’s auto settings. These settings adjust essentials like exposure, contrast, and vibrance, offering a solid baseline correction. Next, I capitalize on the power of AI with Topaz AI, specifically its Denoise AI to manage image noise, ensuring each image's clarity and sharpness are immaculate.
Refining Through Lightroom
Once Topaz AI works its magic, I continue refining in Lightroom using profile LUTs for consistent styling, often aiming for a teal and orange aesthetic. Utilizing built-in masks within Lightroom allows precise editing on various elements within the image, enhancing details subtly yet effectively.
Concluding with Final Touches
As a final touch, I export my images as high-quality JPEGs. For those working with promotional videos, incorporating these stills as slideshows in Final Cut Pro, an additional layer of engagement is created. Reducing image duration ensures viewers are captivated without lingering too long on each still – every second counts.
Conclusion
I hope this guide offers insights into refining your workflow and integrating high-quality stills into your projects. Whether you’re a budding photographer or a seasoned pro, these strategies can elevate your craft. If you enjoyed this breakdown, please like and subscribe to stay updated with more tips and tutorials. Thank you for reading, and happy shooting!


