Mastering the Zoom F3 Field Recorder with the BT A1 Bluetooth Adapter and Control App
Hello everyone, this is Blake Anderson, a videographer based in Toronto, Ontario. Welcome back to my videography blog. In this detailed guide, I will walk you through the Zoom F3 field recorder, with a particular focus on the BT A1 Bluetooth adapter—an optional accessory that enhances its functionality. This blog post supplements my YouTube video on the same topic, providing deeper insights into setup, features, and practical applications for achieving high-quality 32-bit float audio recordings. Whether you are a solo videographer or handling professional audio setups, mastering the Zoom F3 with the BT A1 adapter and the F3 Control app can significantly improve your workflow. Let's explore this in depth.
Introduction to the Zoom F3 Field Recorder and BT A1 Bluetooth Adapter

The Zoom F3 is a versatile field recorder designed for professional audio capture. With the BT A1 Bluetooth adapter, which connects into the right side of your Zoom F3, you gain the ability to communicate seamlessly with the F3 Control app on your iPhone or Android device. This adapter, while an additional purchase, unlocks remote control capabilities that are invaluable for videographers seeking flexibility. In this guide, I will demonstrate how to use the BT A1 Bluetooth adapter on your Zoom F3 and highlight key features of the Zoom F3 Control app, drawing from my hands-on experience to help you optimize your 32-bit float audio recordings.
Setting Up the BT A1 Bluetooth Adapter
To get started with the BT A1 Bluetooth adapter, insert it into the right side of the Zoom F3 field recorder. Once connected, the device will recognize the adapter, allowing you to navigate to the F3 controller option in the menu. Select this to initiate the Bluetooth pairing process. Ensure you have downloaded the F3 Control app on your iPhone or Android device—it is essential for managing connections and controlling your recordings. This setup enables the app to search for the Zoom F3, establishing a reliable Bluetooth link for enhanced audio management.
Connecting Devices and Using the F3 Control App

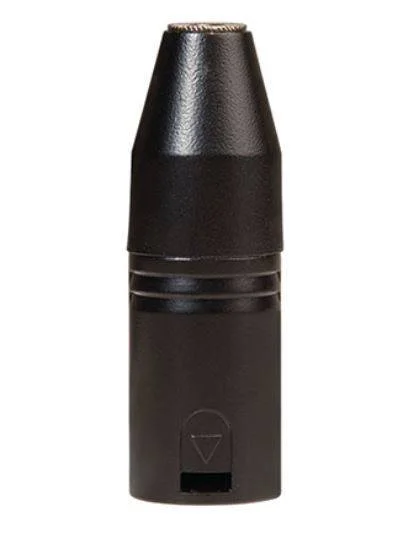
With the BT A1 adapter in place, open the F3 Control app, where it will display available Bluetooth devices. Select your Zoom F3 to connect—it may take a moment, but once linked, you are ready to integrate additional microphones. For instance, I connect my DTF2 shotgun mic directly, and using an adapter jack, I turn the Zoom F3 into a receiver for my Rode Wireless Go 2 lav mic. This configuration allows recording high-quality 32-bit float audio on separate channels, providing robust options for videography setups.
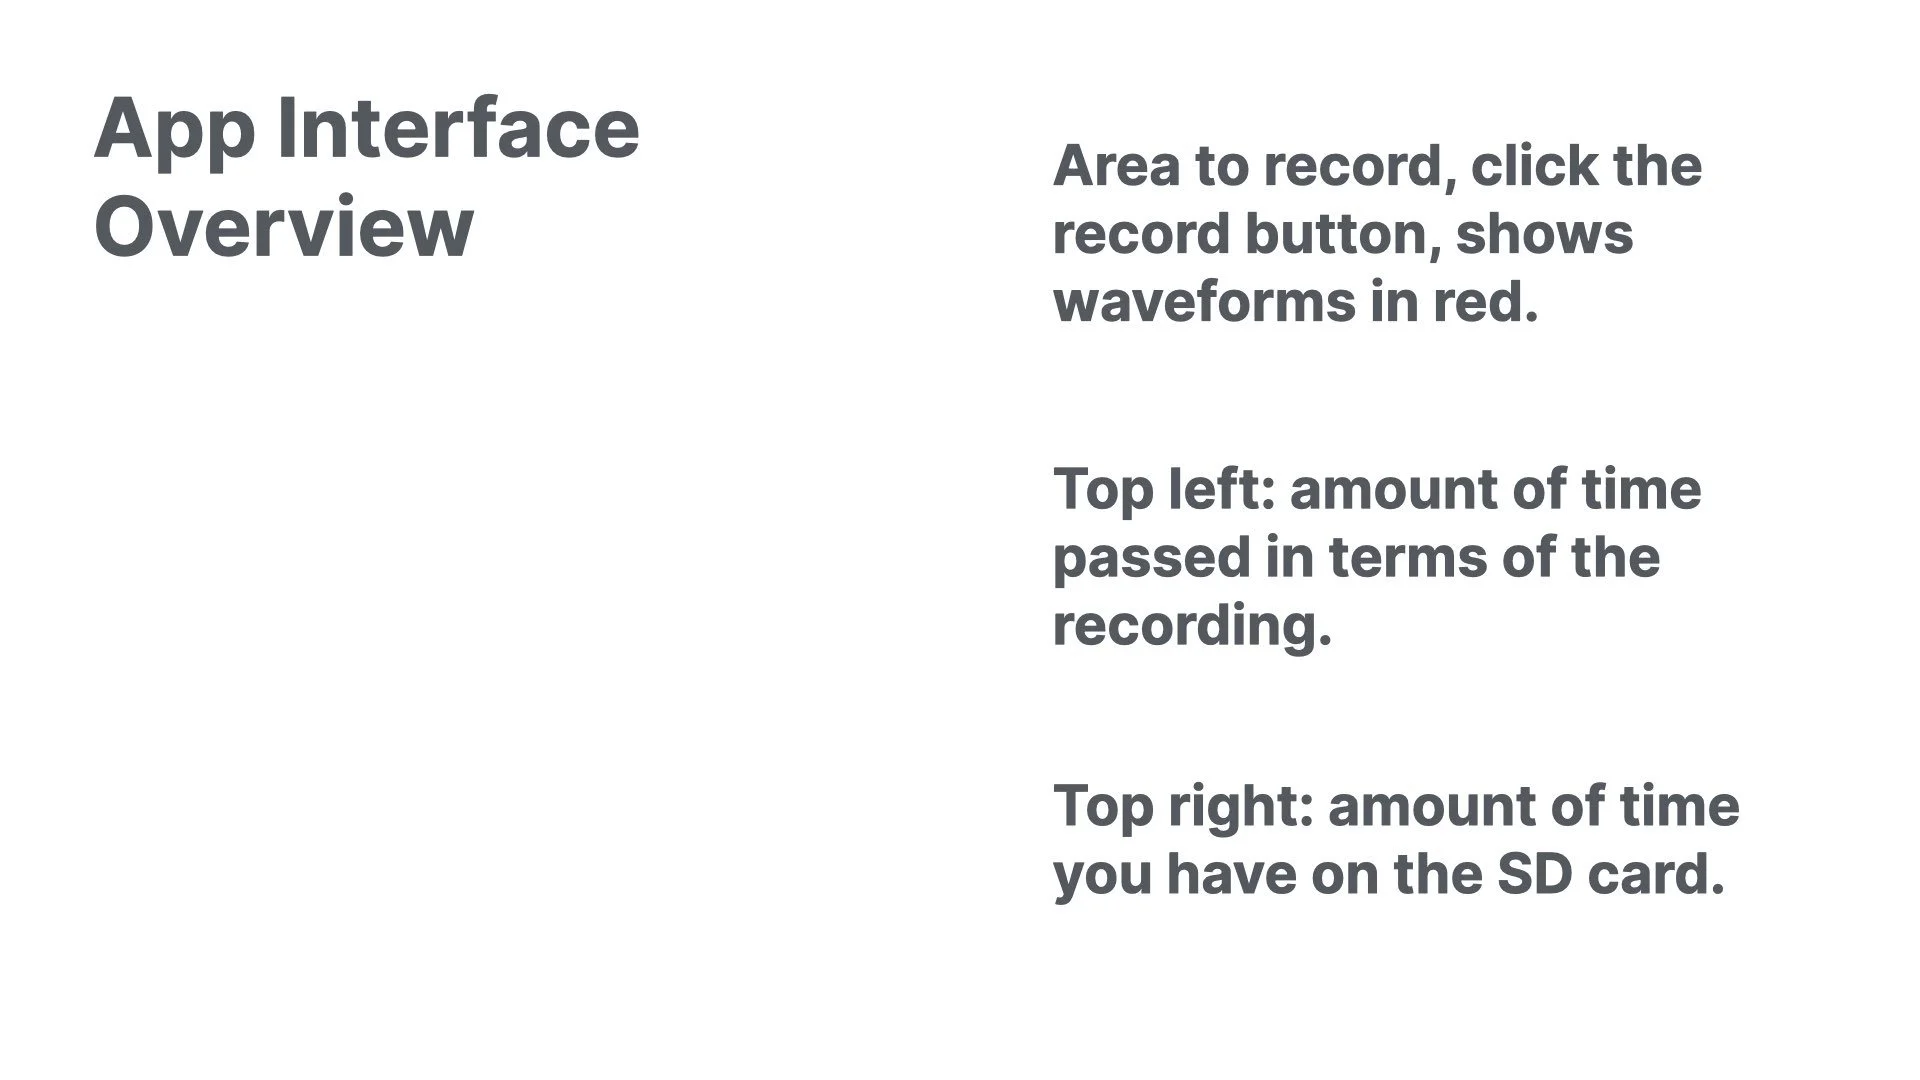
In the app, you will see the recording interface clearly. To begin recording, simply press the record button, which displays the waveforms in red for both channels. The top left corner shows the elapsed recording time, while the top right indicates the remaining time on your SD card. To stop, press the record button again. This seamless integration makes the Zoom F3 with BT A1 adapter ideal for capturing professional audio without interruptions.
In-Depth Exploration of the F3 Control App Features
The F3 Control app provides comprehensive controls to fine-tune your recordings. Here are the key features, explained with practical insights:
Recording Controls: Start and stop recordings effortlessly while viewing real-time waveforms. You can zoom into each channel's audio waveform for precise monitoring, ensuring optimal 32-bit float audio quality.
Channel Management: Access individual channels via the gear icon on the left. Settings include source selection (such as mic 48V or line 48V), phantom voltage (24V or 48V), HPF (high-pass filter), invert phase, and input delay. For the HPF, I recommend setting it around 100 Hz to cut out background noise without clipping the speaker's audio—be cautious with higher values to avoid distortion.
Mic Settings and Sensitivity: Customize each microphone's source and sensitivity. For my setups, I use the DTF2 shotgun mic and Rode Wireless Go 2 lav mic, adjusting the line out sensitivity between -24 and -12 dB. You can also manage phantom power and HPF to filter unwanted noise, tailoring the input to your environment.
Waveform and Monitoring Options: Toggle waveforms on or off, or pause the audio display on the app, which blanks the screen on the Zoom F3. Resume by selecting the channel numbers (e.g., 1 and 2). Note that direct audio monitoring on your phone is not available from my research; instead, connect headphones to the Zoom F3 itself. For advanced monitoring, consider pairing a Bluetooth headphone device to listen remotely.
These features make the app a powerful tool for videographers, allowing real-time adjustments without physical access to the recorder.
Playback, Navigation, and File Management

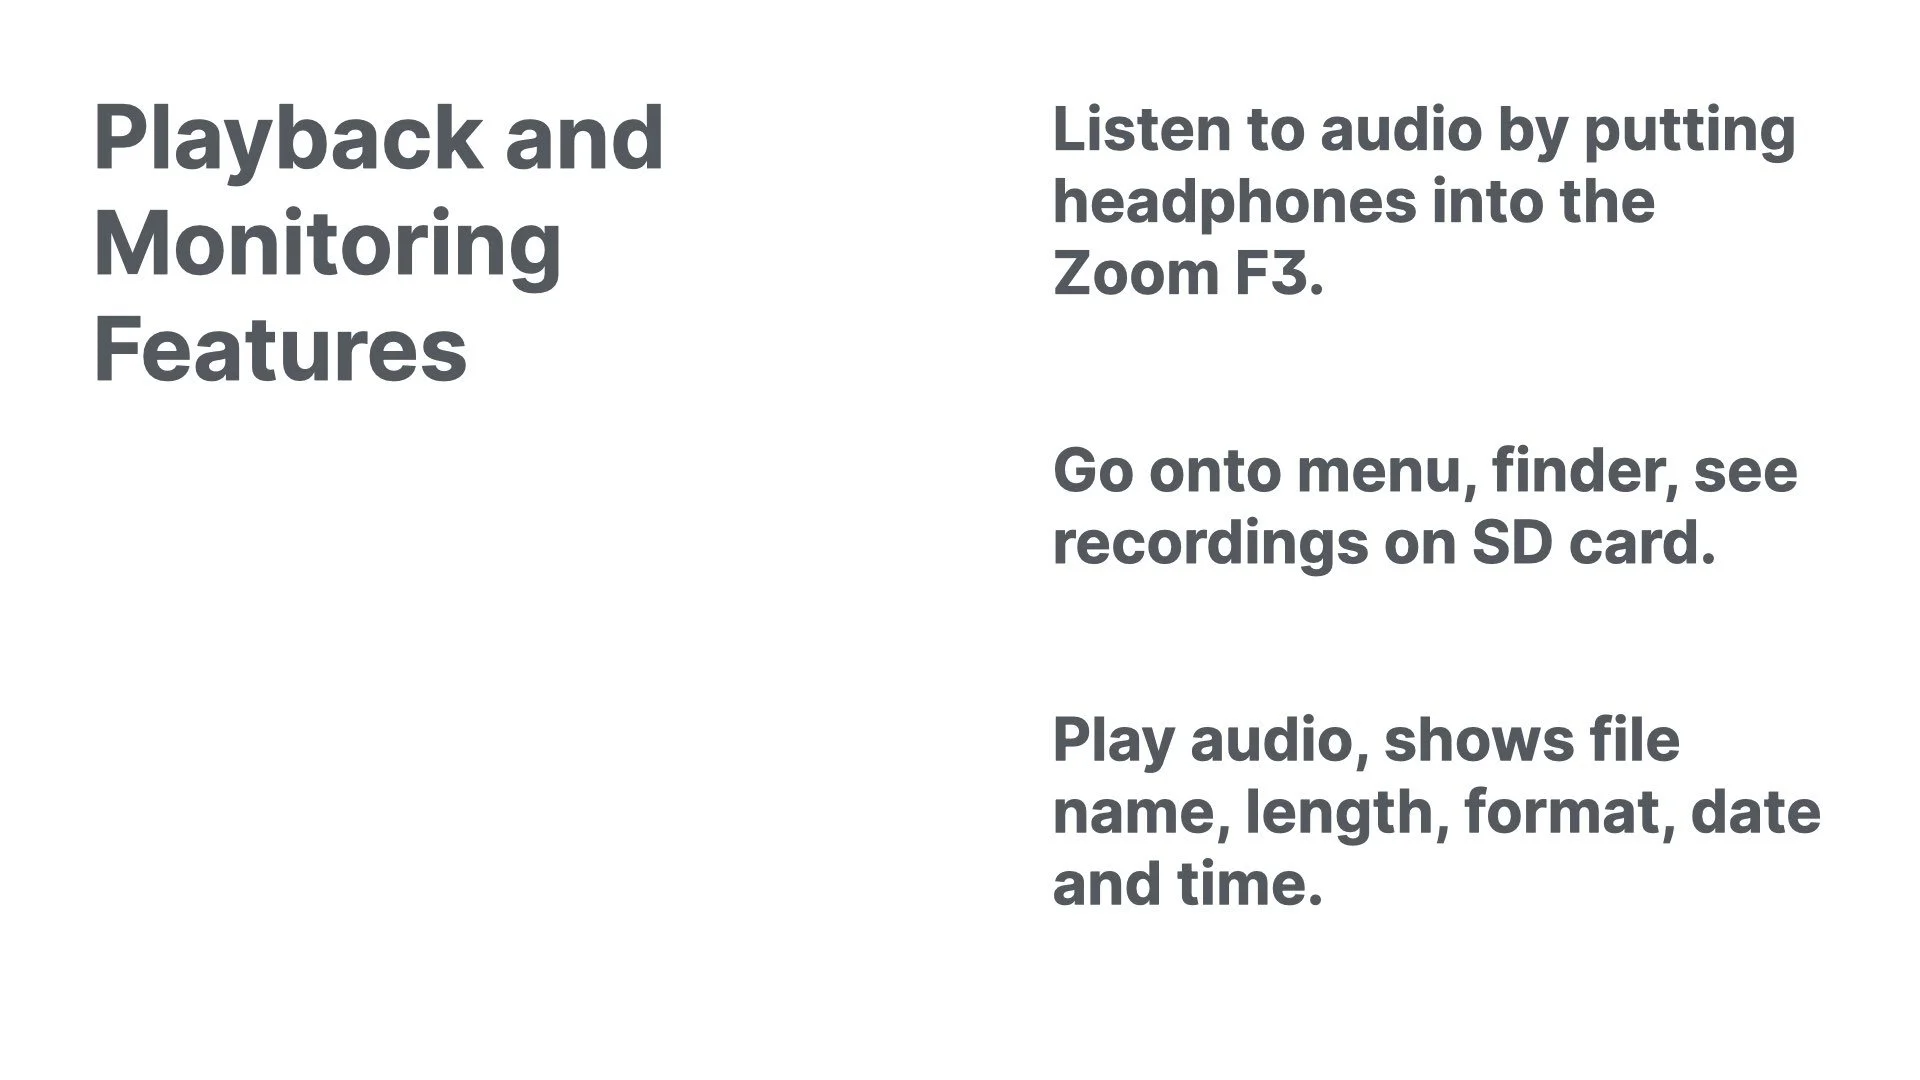
Playback is straightforward through the app or directly on the Zoom F3. Access recorded files via the menu, which includes options like finder, recording settings, date/time, and versions. In the finder, view your SD card contents, including all recordings with details such as file name, length, format (e.g., 32-bit float at 88.2 kHz), and date/time.
To play a file, select it—the app will display the playback interface. Connect headphones to the Zoom F3 to listen; advance to the next track by pressing forward, return to the beginning with a single click, or skip to the previous track with a double click. Pause by pressing play, and exit by stopping to return to the main interface.
For navigation, use the app's lower options: press play to access recordings quickly, add markers for syncing audio in post-production, or lock the device to prevent accidental changes. This ensures efficient management of your 32-bit float audio files.
Advanced Recording Settings and Customization
Dive deeper into the Zoom F3's menu for advanced configurations. Under recordings, customize file naming by selecting date formats or defining custom names. Choose sample rates from options like 44.1 kHz, 48 kHz, 88.2 kHz (my preferred for balanced quality and file size), or up to 192 kHz for the highest fidelity—though this increases file size significantly.
Configure channels as mono or stereo; I often use stereo for easy import into Final Cut Pro, where it handles loudness correction and voice emphasis effectively. Enable pre-recording if needed for capturing audio before hitting record, or add sound markers for editing cues.
Date and time settings allow selection of formats like year-month-date, and you can set the exact time. The versions section displays firmware details for the Zoom F3 and F3 Control app, helping you stay updated.
Practical Applications of the BT A1 Bluetooth Adapter in Videography
The BT A1 adapter, despite its additional cost, offers significant value for remote operations. It allows monitoring and control from up to 33 feet away, which is particularly useful for event recording, such as connecting to a soundboard without constant physical checks. As a one-man band videographer, this setup lets me ensure recording quality across the room via my iPhone or Android, verifying channels and audio levels without being tethered to the Zoom F3.
For example, with two channels—one from the DTF2 shotgun mic and another from the Rode Wireless Go 2 via adapter—I capture high-quality 32-bit float audio reliably. This robustness makes it an excellent choice for professional videography, especially in dynamic environments.
Conclusion: Elevate Your Audio Workflow with the Zoom F3 and BT A1
In summary, the Zoom F3 field recorder paired with the BT A1 Bluetooth adapter and F3 Control app provides a comprehensive solution for high-quality 32-bit float audio recording. While the adapter's price is a consideration, its remote capabilities enhance flexibility, making it worthwhile for solo operators or those needing hands-off control.
Thank you for reading this guide on mastering the Zoom F3 with the BT A1 Bluetooth adapter. If this post has helped you optimize your videography setup, please like, subscribe to my YouTube channel, and share your experiences in the comments below—have you tried similar configurations? Stay tuned for more professional tips, and have a great day!